
One of the leading technologies that we utilize at Enterprise Knowledge to help our clients make sense of their data is a graph database. Graph databases, such as Neo4j, allow software engineers to build more efficient systems that can answer questions such as:
- How do I identify the relationships within my data?
- Will my application scale as the dataset grows?
- Can the database be easily updated as our needs change?
When trying to decide which graph database to work with, Neo4j is an excellent choice because it is highly performant, it scales easily, it is easy to use and learn, and it has the largest graph community in the world. In this technical How-To, you will learn how to create a new ASP.NET Core API that interacts with a Neo4j database running on your local machine. The Web API will utilize Swagger to make interacting with the endpoints much easier. Before following this tutorial, please ensure that you have the following prerequisites installed:
Step #1: Create the Asp.Net Core API
To create a new ASP.NET Core application, create a new folder on the computer to store the application. Then, open your command prompt / terminal and navigate to the folder that was just created. Next, type the following:
> dotnet new webapi
If the command worked, the command prompt will create a new project with the same name as the folder you created and should display the following message:

Open the solution you just created in Visual Studio. The default Web API template creates the following files:

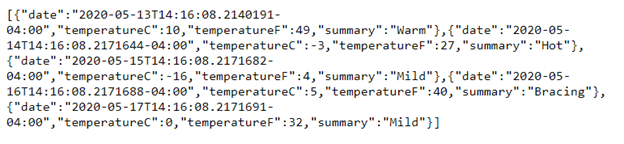
To build the application, either press F5 or select the Start button and the top of Visual Studio. The application will open a web browser window and display the following message:
Step #2: Setup Swagger Documentation
Once the Web API has been created, a useful step to make testing easier is to implement Swagger. Swagger is a language-agnostic specification for describing REST APIs which allows both humans and computers to understand how a service works without having to look directly at the source code. Swagger also allows your application to load an interface that lists all its public endpoints to make using the application much easier. To implement Swagger, follow this tutorial provided by Microsoft.
Note: Make sure that you follow the tip about serving the Swagger UI at the app’s root. Otherwise, you have to navigate to https://localhost:<PORT>/swagger/index.html.
Note: The ‘Customize and Extend’ part of the tutorial is optional and is not required to continue with this tutorial.
After following the tutorial, open the launchSettings.json file in Visual Studio and change launchUrl from “weatherforecast” to “”.
Note: The launchUrl setting in launchSettings.json is located in two places. The launchSettings file makes it easy to create different profiles for each of your environments and set different application variables. As of now, there are two profiles. Change both and then save the file.
Hit F5 or the start button at the top of Visual Studio to run the application, and the web browser should load a screen that looks like the following:
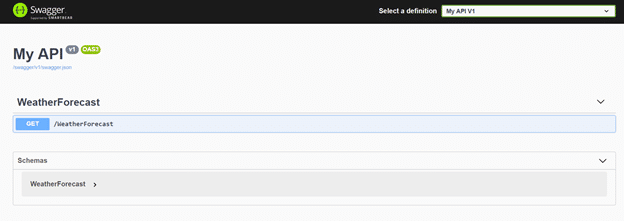
This interface can now be used to test endpoints as they get created, which will be used later in this tutorial.
Step #3: Install Neo4j
After installing the Neo4j application, open it and create a new Project. Then, click ‘Add Graph,’ select ‘Create a Local Graph,’ fill out the form, and click ‘Create.’ Once the database has been created, click ‘Start’ to turn on the server.
Now the Neo4j package must be installed in the web api application. Open the Package Manager Console in Visual Studio, type “Install-Package Neo4j.Driver” and then press ‘Enter.’ Now the Web API is ready to interact with the local Neo4j database.
Step #4: Query the database
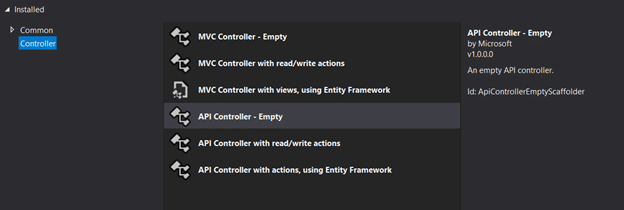
To demonstrate how to communicate with Neo4j, create a new Web Api Controller called Neo4jController. Make sure to select the Empty template as shown below:
Next, add “using Neo4j.Driver;” and “using System.Text” to the top of the controller. This will enable the use of the Neo4j driver in the controller. Now, copy and paste the following code inside the namespace of the controller:
[Route("api/[controller]")] [ApiController] public class Neo4jController : ControllerBase { private readonly IDriver _driver; public Neo4jController() { _driver = GraphDatabase.Driver("bolt://localhost:7687", AuthTokens.Basic("<username>", "<password>")); } [HttpPost] public async Task<IActionResult> CreateNode(string name) { var statementText = new StringBuilder(); statementText.Append("CREATE (person:Person {name: $name})"); var statementParameters = new Dictionary<string, object> { {"name", name } }; var session = this._driver.AsyncSession(); var result = await session.WriteTransactionAsync(tx => tx.RunAsync(statementText.ToString(), statementParameters)); return StatusCode(201, "Node has been created in the database"); } } |
This code does the following:
- Instantiates the IDriver and stores it as a variable called “_driver”;
- Creates a constructor that provides the connection information to the local instance of Neo4j; and
- Creates a POST method called ‘CreateNode’ which takes a string and creates a node in the Neo4j database. Then, the method returns a 201 to the user indicating that the node has been created.
Note: In a production system, the connection information to the database should not be placed directly in the controller. This was done to simplify the demonstration. To learn more about securing a web API, check out this article.
Note: Make sure to update the <username> and <password> fields inside of the constructor. Most likely, the username will be neo4j, and the password is the value you entered when creating the database.
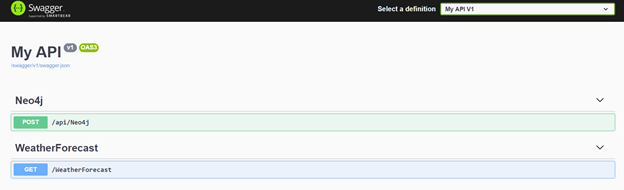
Press F5 or the start button at the top of Visual Studio, load the application, and Swagger should be updated with the new method:
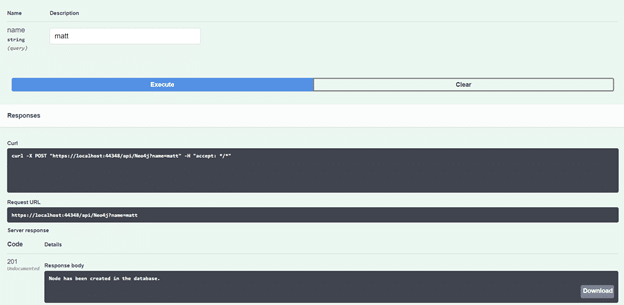
Now make sure the Neo4j instance is still running and test the method. If everything worked correctly, Swagger should return the following result:
Step #5: Checking the Database
After running the method, it is now time to check the Neo4j instance to see if the node has been created.
In the Neo4j application, click on the ‘Neo4j Browser’ tile. In the search box at the top, type the following:
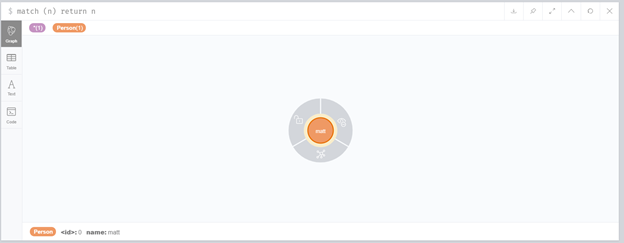
> MATCH (n) RETURN n
This command will return all records in the database. The Neo4j browser should return a window that contains the new node that was created. Select the node, and all the parameters in the node will be shown on the bottom of the window.
Congratulations! The ASP.NET Core Web Api can now insert records in the local instance of Neo4j.
Note: To learn more about the Cypher query language, check out this resource to see tons of examples that clearly outline how to interact with Neo4j.
Conclusion
If you have made it this far, congratulations! You have successfully created an ASP.NET Core Web API application and a local Neo4j instance. By creating this application, you have implemented a prototype application that allows your organization to gain a much better insight into the benefits of graph databases such as high performance, high reliability, and fantastic scalability. If you would like to discuss how Enterprise Knowledge can help you build relationships within your data to power better decision making, please contact us.